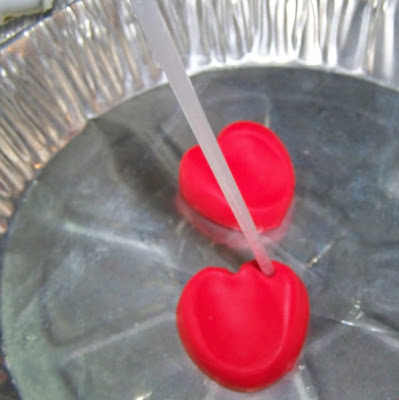
 Close up of back of heart
I made this to be more of kid's project for a child to do for a loved one, but it could be made into a more grown-up version by using jump rings, clasps and a chain instead of ribbon.
The pictures I took really do not do it justice because it looks much better in person and you can easily see the ridges of the finger print.
Cost for each necklace is less than 50 cents each.
************************************************************************ Materials:
- 1 block Fimo Clay - makes 4 hearts (on sale at Michael's .99)
- Hearts ice cube tray ($1.00 from Dollar Tree)
- 18-24 inches of 1/8th inch wide Ribbon (97 cents per spool from Walmart), depending on length preferred
- 2 beads with 1/8th inch opening or pony beads (on hand from broken Dollar store watch) for each necklace
- Straw from bagged juice drink like Capri Sun (free as it was a used one)
- Aluminum pie pan to bake the fimo (free as it was a used one)
Optional: Nodi Nail laquer pink with stars or ($1.00 from Dollar Plus) or any other nail polish
****************************************************************************************
Works out best to divide the fimo into segments then kneed each piece in your hands for a few minutes to make it more pliabe, then press it into the mold and smooth off the top of it.

Take out of the mold and place in the aluminum pie pan right side up. Have the child press their thumb print into the center of the heart. They will need to press very hard to make an indentation.
You may need to shape the crease in the center of the hear on top up a little as the pressing will flatten it out. Use the side of the straw to press the crease back in the heart.
Use the straw to punch a hole in the upper right hand side of the heart.
Bake the fimo clay in the oven at 275 degrees for 15 mins. Do not overbake.


No comments:
Post a Comment