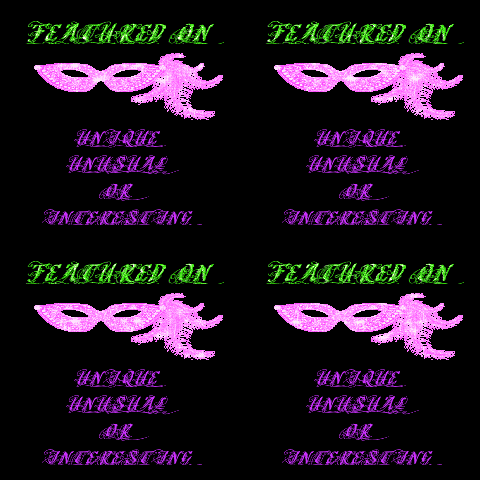
I decided to create a featured on button for my other blog Unique Unusual or Interesting for those that have been featured can post on their site and created the following using Photobucket and the instructions indicated.
This is the first time I had used Photobucket for editing and I like the animated lettering option and I also liked the animated mask sticker, although their selection for animated stickers is very limited. Another drawback is if you don't set the size right it will not always resize correctly and had to start over when it wouldn't resize the completed picture to 200 x 250 and I ended up scraping it and starting all over.
The color coded instructions over at http://www.somewhatsimple.com/2010/02/blogging-101-how-to-make-button.html make it a world of difference to edit the coding you will need to copy and paste then edit to the location where the photo is at, although you will need to download the code and instructions in order to copy them.
I am not HTML literate and I end up deleting some of the code recommended (specifically the code for 200 x250 as it showed up as text) but it did not affect the functionality of the button.

No comments:
Post a Comment